Printing your brand logo or image design on your promotional products is a must so your consumers will be exposed to your brand. However, not all promotional products are flat to use screen printing or curved to use custom stickers. This is where the pad printing process comes in to save the day! Read more below about its essentials and more decorative processes you should know about!

What is Pad Printing?
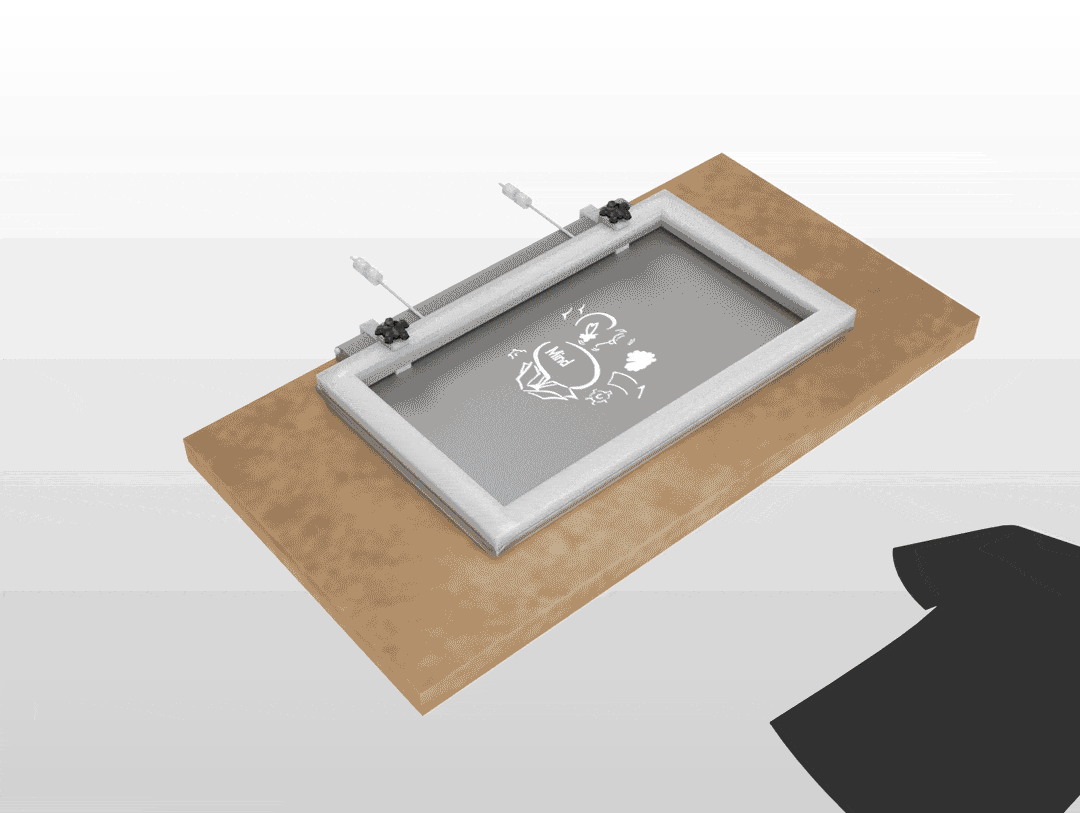
Pad printing is a decorative method on promotional products that utilises a silicone pad to transfer an image to a substrate or an object. It is also known as tampography or tampo printing.
The biggest advantage of pad printing is it can be used to print on promotional products that have irregular shapes or surfaces that would otherwise be difficult to impossible to print on using other printing methods. Furthermore, it can also be used on almost all materials from wood to fabric to metal.

Pad printing also allows brands to print detailed images of their promotional merchandise with only one disadvantage, it will be harder to print large images and cover large spaces on substrates.
Pad Printing Process Essentials
Like any other printing method, the pad printing process requires several tools so we listed its printing essentials for you!
The pad printing plate is also known as a cliche. This plate can be made from steel, plastic or ceramic.
The image to be printed on the promotional products are either etched or laser cut into this plate. Using etching is more cost-effective though it can take around 30 minutes to be available. Meanwhile, laser cutting can be ready to use within 7 minutes.
The pad used for this printing process is made from silicone. It can in different shapes, flexibility and sizes, depending on the substrate you have.
A silicon pad can print on 50,000 to 100,000 substrates in its lifetime. It is advisable, however, to use a pad in succession for 8 hours only and let it rest for another 8 hours before using them again.
The ink used for the printing process depends on the material of the promotional item to be printed on.
In some cases, it will be mixed with hardeners for a more durable print on washable items or a faster dry rate.
Open or sealed ink cup pad printing machines are available in the market today. It can also range from one to four colours.
A six colour machine is also available but it’s rarer and costs a lot more than the ones readily available.
Pad Printing Process
Step 1: Home Position
This is the first step in the pad printing process wherein the ink is poured into the etched image in the plate that will, later on, be transferred to the substrate using the silicone pad.
Step 2: Doctoring
To transfer the ink-filled etched image, the doctor blade or the sealed ink cup will move back to make way for the silicone pad. The doctoring process here is simultaneously done as the excess ink from the etched image is taken away with the doctor bade or ink cup.
This is to ensure that the ink the pad will adsorb is only from the etched image for a crispier and clearer finished image.
Step 3: Image to Pad
The silicone pad moves back with the doctoring. It is then pressed on the image to absorb the ink and transfer it to the substrate.
Step 4: Pad to Substrate
The pad with the ink image is moved forward and pressed on the substrate to transfer the image.
At the same time, the ink cup moves forward to its home position and fill the etched image on the plate with ink once again,
Related decoration methods you should know:
Suitable for mass production and larger image than pad printing, find more details about screen printing and its printing process in the blog below!
One of the famous decorative methods of metal is laser engraving. In the blog below, we listed 5 important pieces of information you might want to know before choosing the procedure for your promotional products.
This branding method is ideal for promotional products made from thin metal that would otherwise break if other processes are used. Check out acid etching and confirm if it is for your promotional merchandise here:
Best for printing on rubber, synthetic fabric, and plastic substrates, dye sublimation is the use of heat to sublimate the ink. The gaseous state of the ink will turn into a solid once more in the substrate to form an image.
Ever heard of direct-to-garment printing? We featured this decorative method and its processes with pros and cons with you in the blog below!
Find the A to Zs of printing for your promotional products as well as which ones are best for your products’ materials in the blog compilation we prepared below!
To Sum It All Up,
The pad printing process is easy to understand and facilitate. It’s also advantageous to use for high-quality and detailed images on a variety of materials and difficult-to-print shapes, however, limited with the colour choices depending on the pad printing machine.
Here at ODM, we can assist you in the customisation of your promotional products using pad printing. And if you’re still unsure of your branded merchandise, our in-house creatives, Mindsparkz, can work with you as well! We also have a magazine with more than 8,000 promotional item ideas, tips and tricks to get you started! Contact us today!
For more benefits of working with us, we listed them below for you!
Browse ODM Latest Blogs:
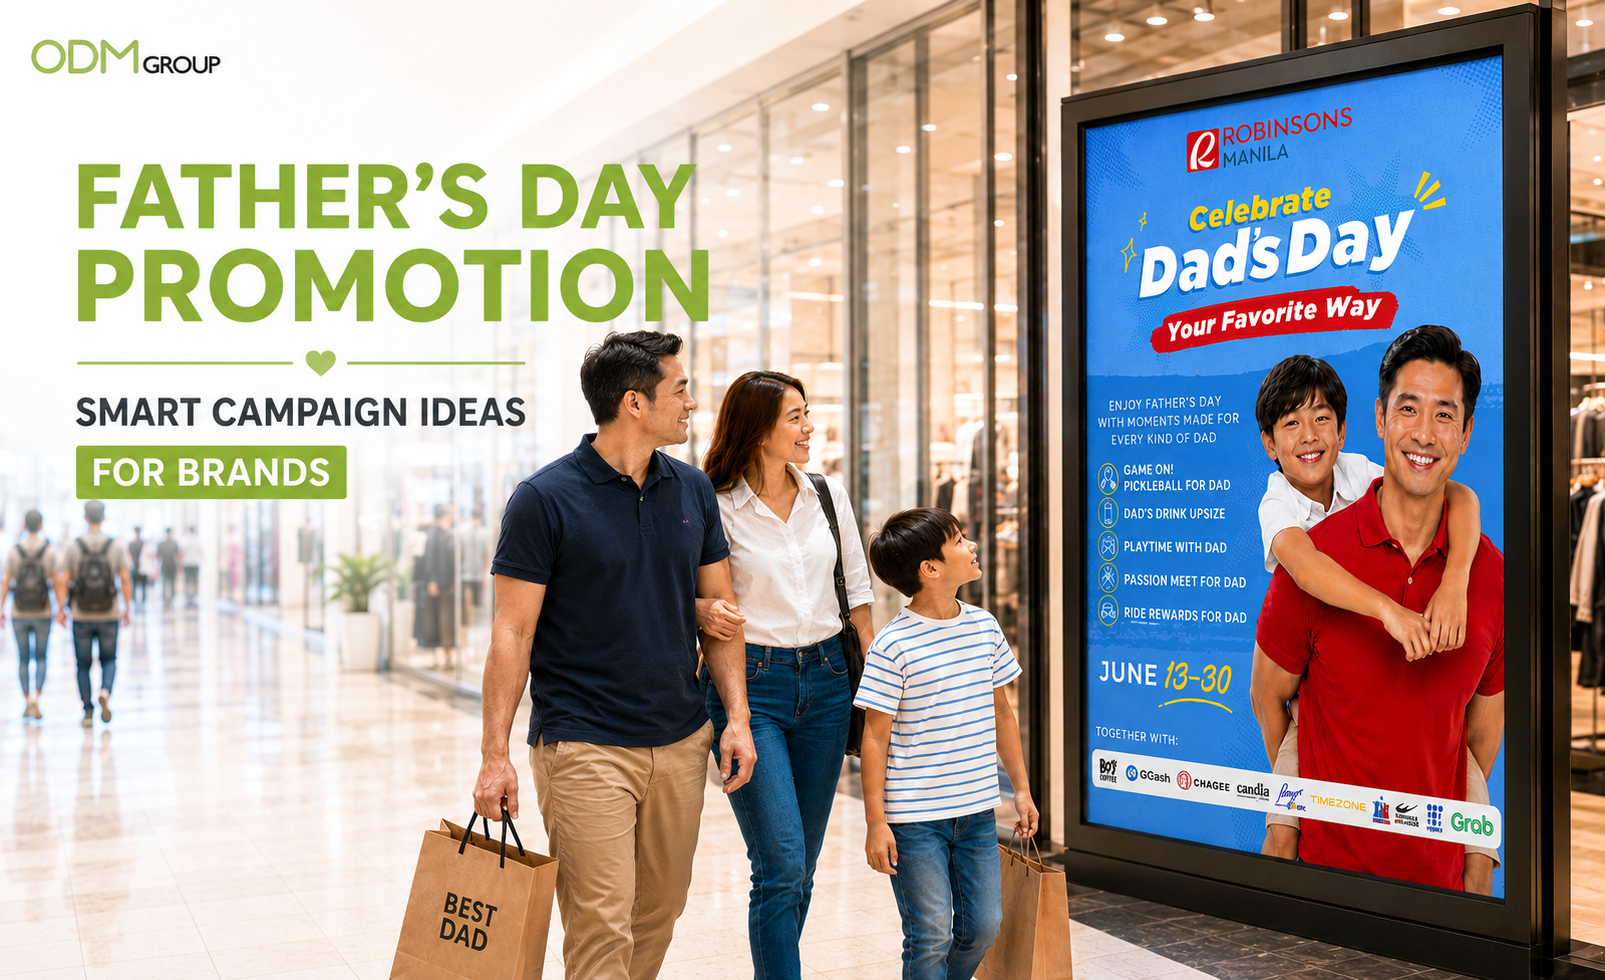
Father’s Day Promotion Ideas That Drive Retail Engagement
Father’s Day promotions, promotional products for men, promotional gifts for fathers
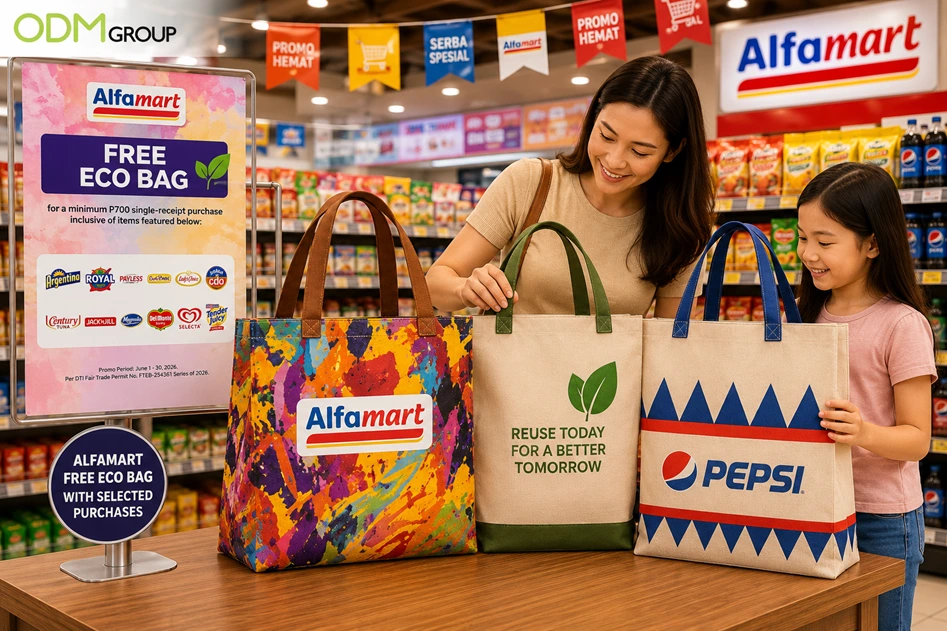
Custom Reusable Bags That Keep Your Brand in Motion
A promotion ends at checkout. A useful bag does not. Custom reusable bags can continue [...]
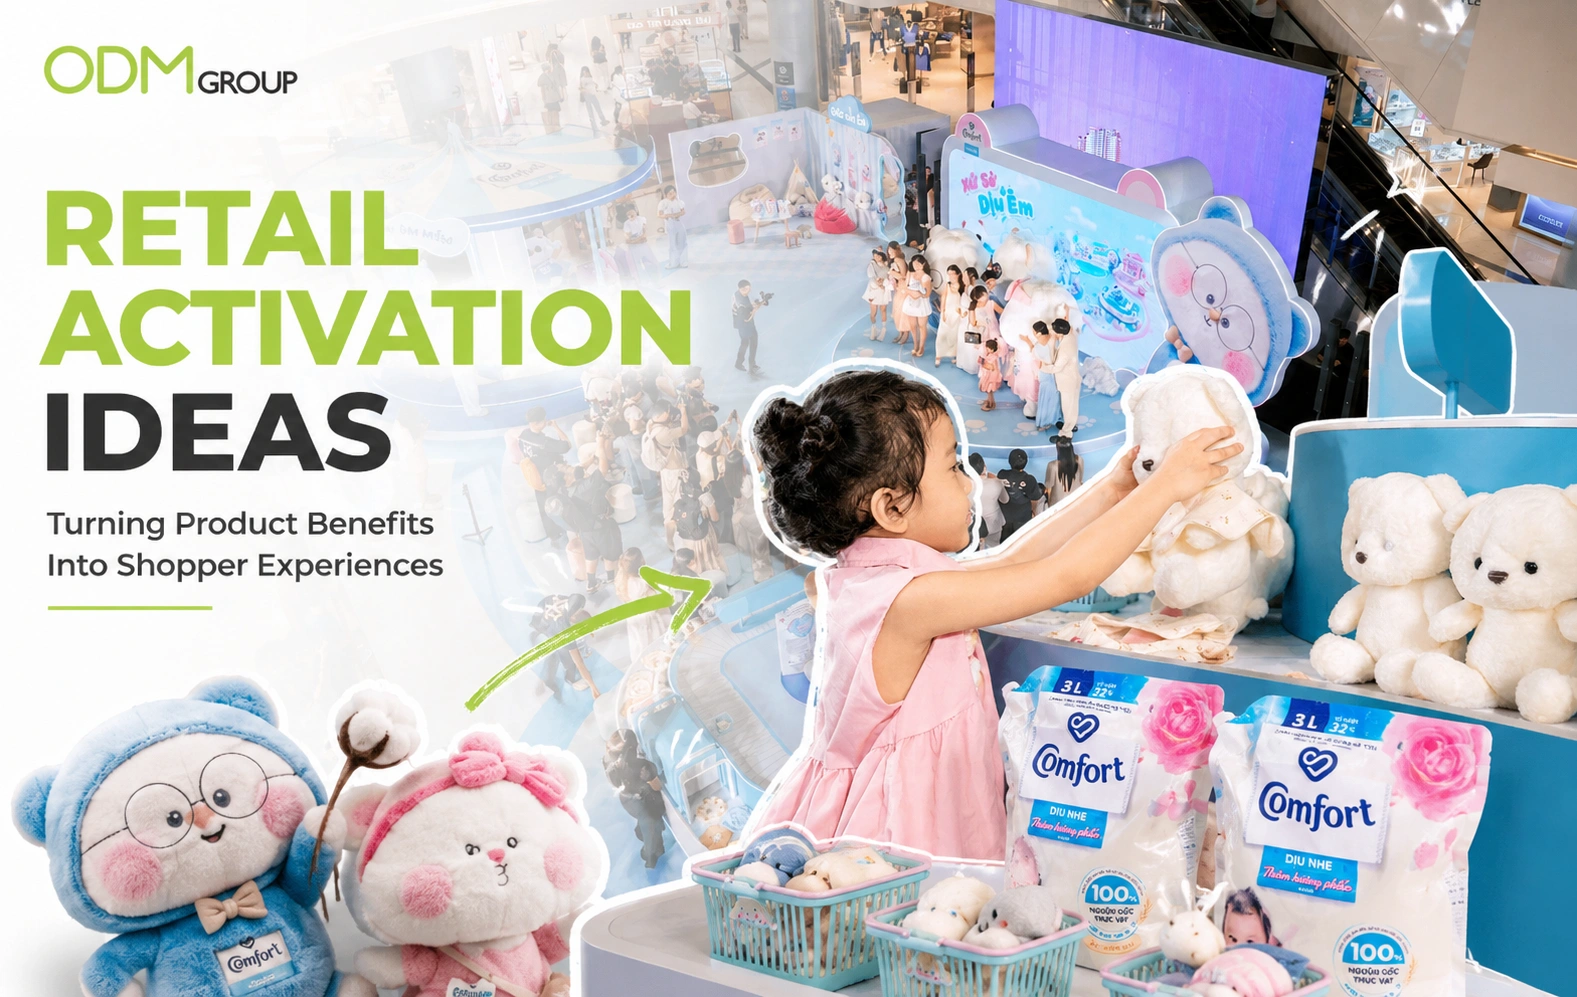
Retail Activation Ideas Inspired by Comfort’s Softness Campaign
Retail activation ideas work best when they make a product benefit easy to see, [...]
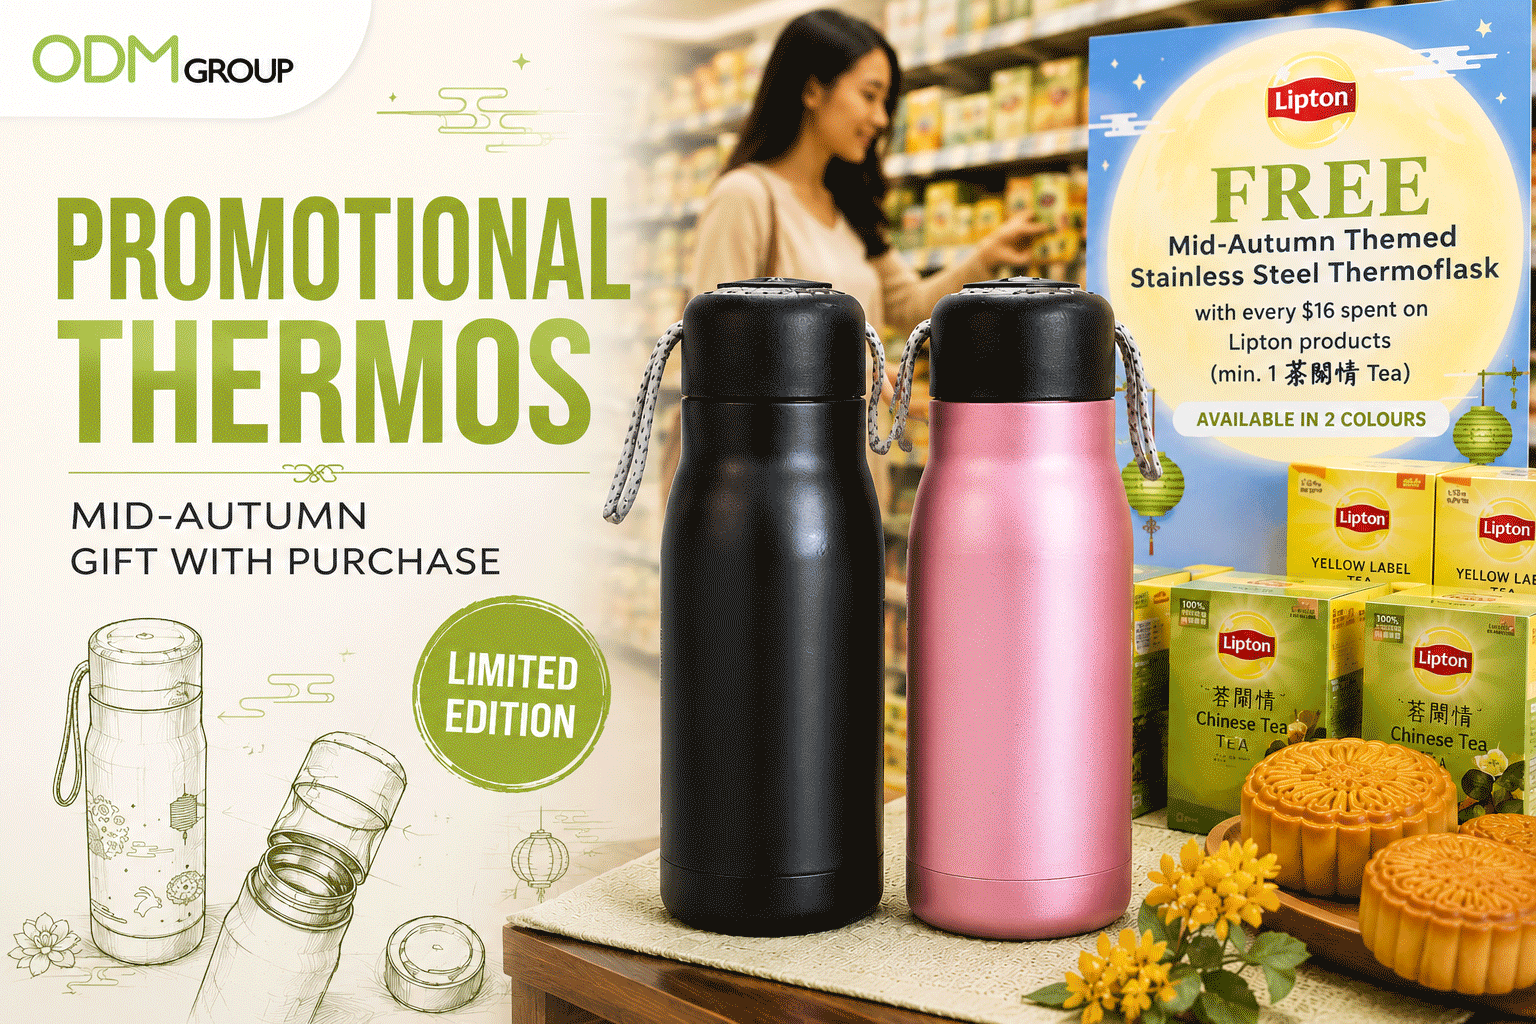
Custom Promotional Thermos: Lipton’s Mid Autumn Giveaway
The Mid-Autumn Festival usually falls in September or October each year, depending on the [...]
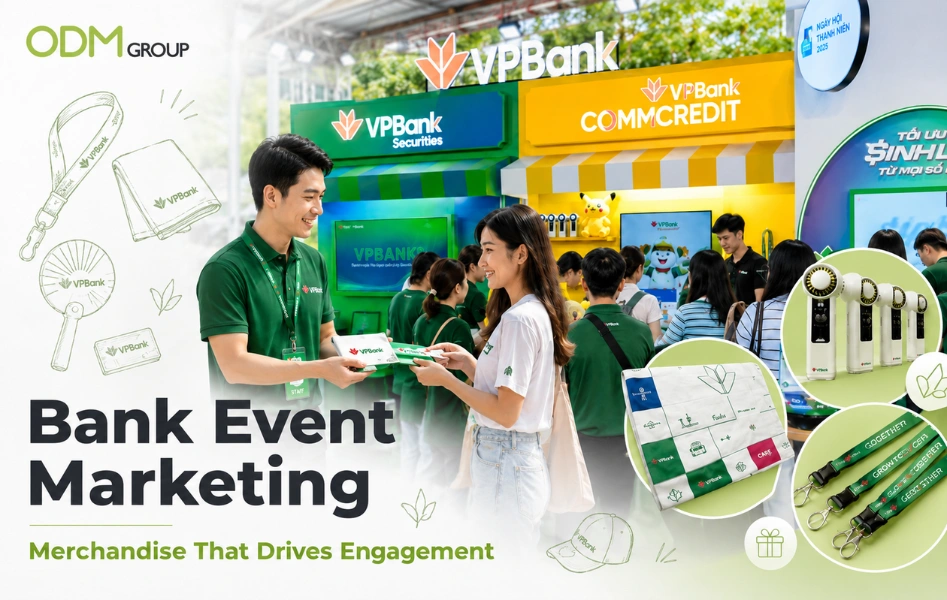
Bank Event Marketing Ideas That Drive Customer Engagement
Bank event marketing is no longer limited to brochures, booth counters, and staff explaining [...]