Have you ever received any promotional products made of metal and engraved with either the brand’s name or yours? It’s indeed amazing seeing such items rights. Such a printing or engraving method is also known as acid etching.
This process is quite common in manufacturing products used for marketing and promotion.

What is Acid Etching?
Acid etching is the process of cutting a hard surface, like metal, with the use of specially formulated acid for etching (etchant) to create a design on the metal.
Unlike other processes, acid etching does not change the properties of a metal.

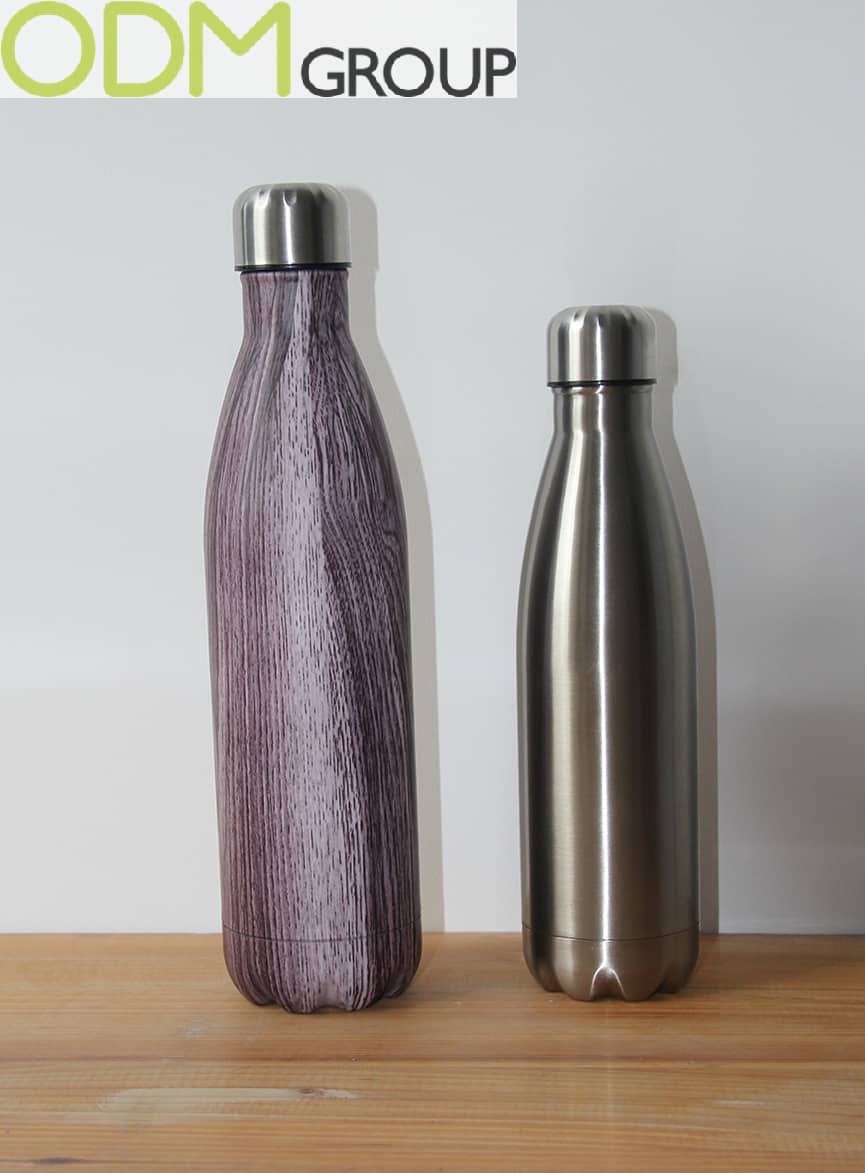
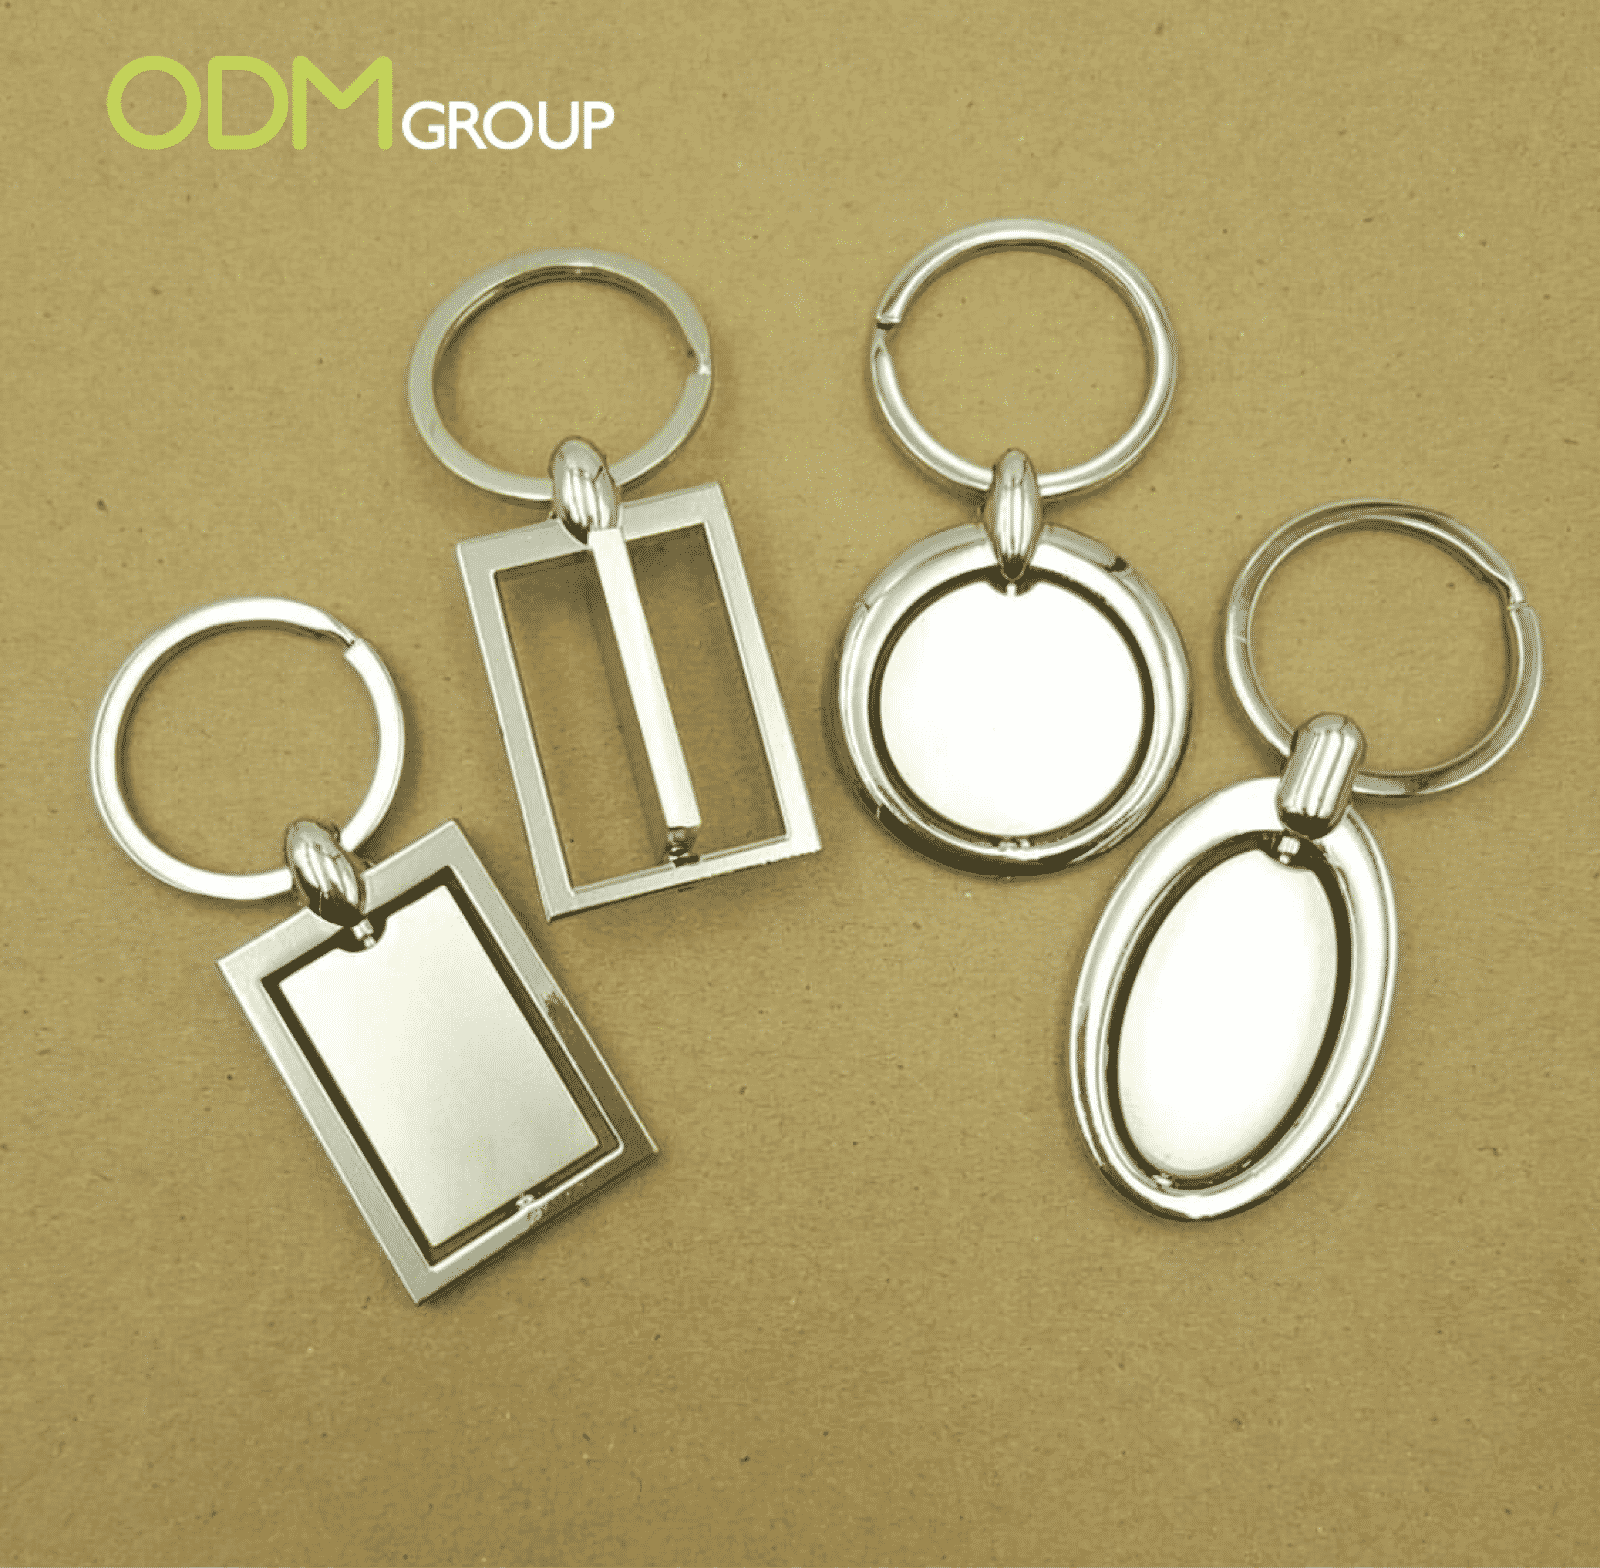
In addition, the grain structure and strength of the metal remain intact even after the process. Acid etching can be used on every type of metal and is ideal for thin materials that could be damaged by other processes. Some examples include metal tags, knife sets, wine buckets or any stainless steel items.
Furthermore, various acids, such as nitric acid, hydrochloric acid, and sulfuric acid, can be used in the etching of steel and stainless steel. All of these acids must be handled with caution because they can dissolve stainless steel as well as fingers.
A Step-by-Step Guide to Acid Etching on Metal
Etching metal with acid produces an interesting artistic effect, with the end product displaying an interesting design. This is due to the acid’s ability to eat away the metal. The process of metal acid etching is to fix a design or picture on a piece of metal with heat-fused ink and submerge the metal in an acid bath.
With that said, ODM would like to share some of the knowledge accumulated over time on our research and factory visits for QC on this branding method. Learn how the process goes.
Step 1: Material Selection
Acid etching can be used on almost any metal, but as with most metal machining processes, some are easier to etch than others. You can etch stainless steel, mild steel, or high-carbon steel. Which type of steel you etch will determine the best acid or chemical to use to etch it with.
Typical metals include:
- Steel and stainless steel
- Copper and its alloys
- Nickel and its alloys
- Aluminium
- Titanium

Step 2: Cleaning
After the material has been decided, the next step is to remove the burrs on the edges of the metal and scrub the steel. Afterwards, clean the material, scrub, rinse, and clean it once again using isopropyl alcohol.

3. Lamination
The third step in this printing method is lamination. In this stage, a light-sensitive photoresist is applied to the sheet. Good adhesion is required for highly repeatable, blemish-free components.
If any issue arises with the bonding of the laminate, the etchant may come into contact with the protected areas of the metal during the etching process. This will compromise and affect the finished parts of the material.

4. Printing
Choose the image you want to etch on your material. It can be a free-hand drawing or you may use an existing design that you want to transfer to the surface.
In this process, the component design is transferred to the photoresist by exposing the sheet to ultraviolet light through a photo-tool mask.

Note:
- If you plan to replicate an existing design, choose something in high-contrast black and white.
- If you plan to make and sell prints of your etching, choose an image in the public domain or get the permission of the copyright holder, if there is one.
5. Developing
Resist film is chemically developed on non-UV exposed areas to reveal the desired image. The resist-coated area is heated prior to etching to improve acid resistance.
6. Etching
In this stage, etchant chemistry, typically ferric chloride, is sprayed onto the developed sheet. Skilled technicians determine the etch time by considering variables such as metal type, grade, thickness, and size, all of which affect the result.

7. Stripping
The remaining photoresist is removed from the sheet, either manually or in a stripping machine, revealing the final etched components.
8. Visual and Dimensional Inspection
Using cutting-edge optical inspection equipment, the components are visually and dimensionally inspected before the product push through the last stage of the process.
9. Finishing
After ensuring the quality of the end product, the method can be considered combining with other processes including:
- Plating
- Forming
- Electropolishing
- Passivation
- Heat treatment
- Brazing and diffusion bonding
- Wire EDM

Benefits of Using Acid Etching on Your Promotional Products
Acid etching has a number of inherent advantages over traditional stamping, laser, and waterjet cutting. Here are the benefits of using this method for your promotional products:
- Low-cost tooling
- Material grades
- Flexibility
- Burr and stress-free
- Short lead-time
- Unlimited complexity
More Printing Techniques You Should Know


In Conclusion
Acid etching is no longer a new thing in the manufacturing industry. Indeed, it’s a great way to broaden your product and service offerings while leveraging the skills and equipment you already have on hand.
What Can ODM Offer?
In this fast-moving manufacturing age, ODM has a proven track record of developing new, and innovative printing methods. We partner with trusted manufacturing companies to provide premium quality products and services to our clients.
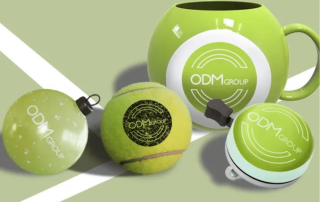
ODM can also help you produce other promotional merchandise ideas for your F&B business. We can help you source products like promotional cutleries, custom beer flight sets, promotional drinking glasses, branded wooden coasters, bottle glorifiers and different coffee shop merchandise.
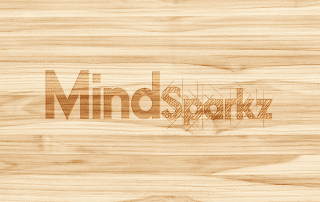
Our designers from Mindsparkz are also here to assist you in designing any free-standing display unit for your business. Feel free to contact our team if you need any of our services. Rest assured that our team will guide you throughout the process.
Read More:
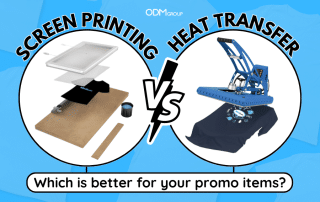
Screen Printing vs Heat Transfer: Which Method Works Better?
When it comes to imprinting a logo on a [...]
What is Laser Engraving: Top 5 Interesting Facts to Know!
Printing methods play a crucial role in creating custom [...]
Pad Printing Process: 4 Essentials For High-Quality Print
Printing your brand logo or image design on your [...]

What is Direct to Garment Printing: A Beginner’s Guide
When it comes to printing promotional products such as [...]
What Makes Dye Sublimation Printing a Great Option for Branding?
Printing your company logo on your promotional products is [...]
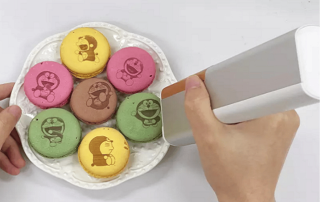
Edible Ink Printing: A Unique Way to Build Brand Presence In F&B Industry
Printing is a fundamental part of a business. It [...]
Related posts:
 How to Customize Promotional Products: A Step-by-Step Guide to Make Your Brand Stand Out
 Say Yes to Laser Engraving on Plastic: A Unique Printing Method
 Stainless Steel Products – Double Wall Branded Flask
 Custom Metal Keychains: How It Could Strengthen Marketing Efforts